How to Grow Shiitake Mushrooms with a Grow Kit

How to Grow Shiitake Mushrooms with a Grow Kit

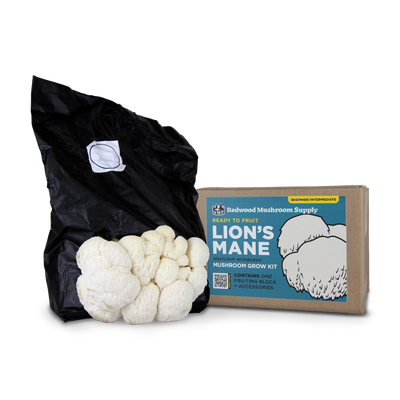
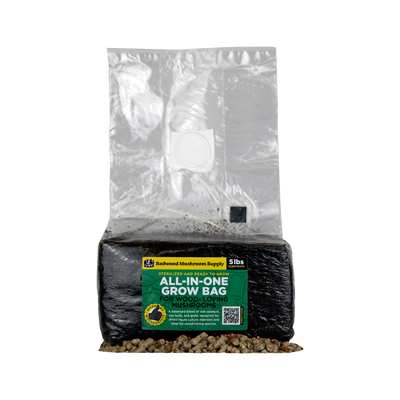
Enjoy rich, umami-packed shiitake mushrooms grown right at home with this easy-to-use Ready-to-Fruit Kit from Redwood Mushroom Supply. Each block arrives fully colonized and prepared to produce dense, flavorful mushrooms—no special lighting, tenting, or experience required.

Shiitake fruiting works a little differently than other mushrooms: instead of slicing the front of the bag, you’ll simply make a cut beneath the filter patch, then watch the mushrooms emerge over the next 1–2 weeks. This process mimics a natural fruiting trigger and encourages strong, consistent flushes.

How to get started

1

Cut Open Grow Bag

If mushrooms have not started growing: Using a clean knife, cut a small 1-2” slit just beneath the white filter patch on the bag. Mushrooms will begin to "popcorn" and form their familiar shape, emerging as white circular growth from the brown outer mycelium of the block.

If mushrooms have started growing, remove the outer bag entirely and place it on a plate or inside an open container. You can also leave a small portion of the bag on the bottom of the block.

2

Spray Your Grow Bag

Fill the included sprayer with filtered or distilled water and mist inside the bag through the hole once daily, more often in dry conditions. Keep up this routine, and you will begin to see large lumps forming on the surface where mushrooms will appear.

If your block is outside the bag, spray the block generously 1-2 times per day.

3

Watch Your Mushrooms Grow

Be patient and watch your mushrooms grow! Shiitake mushrooms can take longer to develop than faster growing varietals like Oyster or Lion’s Mane. Use our visual guide for reference and harvest before spores drop.

4

Harvest Your Mushrooms

A shiitake mushroom is ready to harvest when the cap looks like a wide umbrella that hasn’t fully opened. Imagine it like a beach umbrella that’s just beginning to stretch out—the edges of the cap should still curve downward slightly, not lay flat like a dinner plate. If the cap opens all the way and flattens out, it’s past peak—still usable, but the texture and shelf life won’t be as good.

To harvest, carefully remove your block by cutting open the top of the bag, but save it if you intend to do a second flush. Cut each mushroom from the block, leaving a flush cut where you can. For a second flush, place block in cold water for a few hours, then allow to dry before placing back in bag and securing the bag with a clip.

Shiitake Mushroom Grow Kit

FAQs and Tips

How long does it take for Shiitake mushrooms to grow?

Shiitake mushrooms take a little longer than most species — typically 2–3 weeks after you start fruiting conditions. They begin as small brown pins that expand into firm, umbrella-shaped caps. Ideal conditions are 60–70°F (16–21°C) with high humidity (85–95%). Unlike oysters or pinks, shiitake blocks often need a cold shock (brief refrigeration or cool water soak) to trigger fruiting — check your kit’s specific instructions to see if this step is needed.

Why are my shiitake mushrooms not forming or growing slowly?

Slow or uneven growth usually means the block hasn’t fully rehydrated or the humidity and airflow balance is off. Shiitake prefers steady moisture on the surface and consistent fresh air exchange. If the surface looks dry or tough, mist more frequently and ensure air circulation is gentle — not stagnant, but not drafty. Also, make sure the block has had enough resting time after soaking (usually 2–3 days) before expecting pins to appear.

In drier climates, you may need to use a larger bag with holes poked in it, or another fruiting chamber to create the ideal climate.

Can I get more than one harvest from my shiitake kit?

Yes — shiitake kits can produce 2-3 flushes with proper care. After harvesting, let the block rest for about 2 weeks, then repeat the cold water soaking process to reactivate growth. Each flush may yield fewer mushrooms, but the quality remains excellent. Keep your block in a humid environment between flushes to prevent drying out.